Tuesday, November 12, 2013

New Handmade Paper

For the past few weeks I have changed gears from eco-printing to making paper by hand. I used my own lettering to create a stencil to shape the paper. My goal is to make a lot of these sheets and form them into a book.


Monday, October 28, 2013

Eco-printed books and some lettering

Here are some of the books using the papers I made with the eco-printing technique.

Coptic bound book, 6" X 9" closed


 Japanese stab binding, arrow pattern, 5" X 8"

Over the weekend the Memphis Calligraphy Guild hosted Carl Rohrs for a lettering workshop.  He is one of the best teachers I have ever had!  The class covered both pen and brush calligraphy. Both of these samples were done with a large pen. The letters are about an inch high.


Tuesday, October 22, 2013

Eco-printing with heat

The second method of eco-printing with heat involved steaming the papers, rather than boiling them.  After wetting down several sheets of Arches Text wove,  I layered them using mostly leaves and red onion skin, and a few rose petals.


The papers were tied with string and weighted down with some 12 X12" tiles, and placed on a rack in a large roasting pan.  I filled the bottom of the pan with boiling water, and covered the whole thing with  foil. Then I let it steam for about 1 hour in a 225 degree oven.

Here is what it looked like after I took it out of the oven:


I covered them with a large plastic trash bag, and weighed them down to sit overnight, The hardest part was waiting until morning to open them up and look at all of them.  Here are the results:


Here is the book that I made using those papers and a Japanese stab binding technique:


It's about 5" X 8".  This method produces very subtle dyes and leaf impressions. 

Thanks for looking and comments!


Tuesday, October 15, 2013

More Eco-printing

My first pages of eco-printing, using boiling water and raw vegetables, were less exciting than I had hoped.  The onion skins gave the best result, but the vibrant chard, cabbage and red onion just dissolved. While looking into eco-printing online, I came across the technique of flower pounding, which involves using fresh flowers or plants and a hammer.  This caused me to wonder if I could use some kind of pressure, like that created by a die-cutting machine, to get the same results.  Here's what happened:

I cut thin strips of both red cabbage and radicchio. And I found a large bouquet of flowers on sale. I used my Big Shot die cutting machine -- limiting the size of the pages to 6" X 9".  These pages will be bound for a book, so I folded a 9" x 12" piece in half.  Once I arranged the leaves and flowers, I folded the paper, and ran it through the BIg Shot.  It was surprisingly messy!  I'm pretty sure that this machine was not meant for pressing plants.


Here are some test strips, using rose petals, parsley, chrysanthemum petals and radicchio.


Detail of rose leaf -- the leaf itself did not print, but it picked up the color that was released from the petals.


Lilies, parsley and dyed baby's breath:


Parsley, rose petals and mum petals:


Detail of parsley leaves:


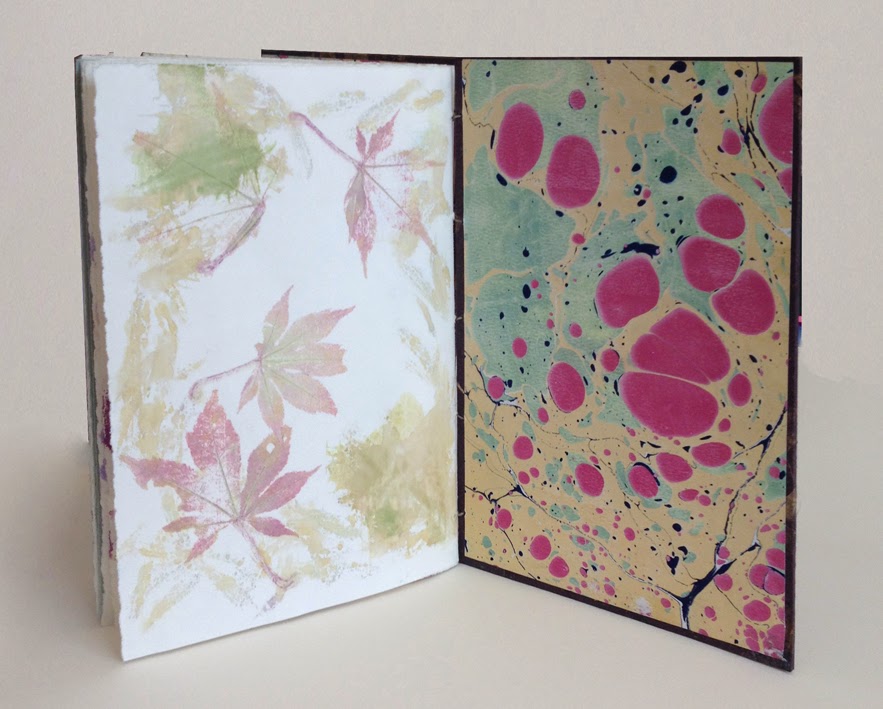
In all I printed 24 pages, and plan to try more. The process has that element of unpredictability that I really like having in all my work.

Friday, October 11, 2013

First attempts at eco-printing

In grad school I am taking a bookbinding class.  We are using a lot of processes to print on paper. Our professor wants us to try eco-printing, so here is what I have done so far.  

I started with a lot of enthusiasm at the grocery buying these colorful veggies.  I thought that the swiss chard would leave a lovely pattern. The paper is my favorite -- Arches Text Wove.  I layered two sheets of paper with purple onion skins, purple cabbage and flower petals. Then I rolled them up and tied them with string.


Next step -- boiling the bundles in water. Some instructions said to boil for about 3 hours. Luckily I took out the first bundle after only one hour, because the ones that I left in for the full time were completely washed out. Nothing printed...very disappointing.


 These two pages are the Arches Text wove, as soon as they were cool enough to handle, and still wet.  The onion skin is on the bottom photo on the right.  The faint blue/purple areas are from the purple cabbage.


Here are the papers dried. They have a green tint because of the leaves and chard that I rolled up in them.


This was my first attempt. I am not sure if the other papers didn't "print" because they were boiled too long, or because I was using fresh (not dried) materials.  So, I will be spending my fall break trying different methods, and also working with dead leaves -- providing that the leaves actually change in time. We have no fall color yet here in Memphis.

Sunday, September 29, 2013

Works in progress

This fall I started my second semester of grad school at Memphis College of Art.  I am working on two different series of works combining calligraphy with painting and bookbinding.  Here are some in progress:


These are canvasses and wood panels, covered with joint compound. I inscribed some unusual "letterforms"and then painted over with acrylic glazes. More to follow as they develop.

Photos from Phoenix workshop "Casual Caps"

The Phoenix calligraphy guild hosted my for a weekend workshop the weekend of Sept.14th. Here are some photos of their classwork:


Thursday, September 19, 2013

The Summit International Calligraphy Conference

This summer's calligraphy conference was held in Colorado Springs. It was an inspirational venue.  It was a relatively small conference, and felt like a giant family reunion. Here are some photos of my time there.

This is the view of Pike's Peak from the window of our classroom.


 I was in Laurie Doctor's class, Resolute Imagery. It was a 5 day class, and by the end all of us had bonded as a group. Here are two of the large pages that were later cut down to create a journal:


I also worked on some large paintings: acrylic washes on a large sheet of Arches Text Wove paper


Here's an opening spread from my journal:


 Vendor's show -- handmade brushes by Keith Lebenzon


More scenery:


From Show and Share -- pieces from Yukimi's class:


Our class's table at Show and Share: